
Three field-tested techniques for sharp, believable drone shots: a map-first plan, light discipline, and a repeatable capture checklist.
Plan the shot like a survey, not a joyride
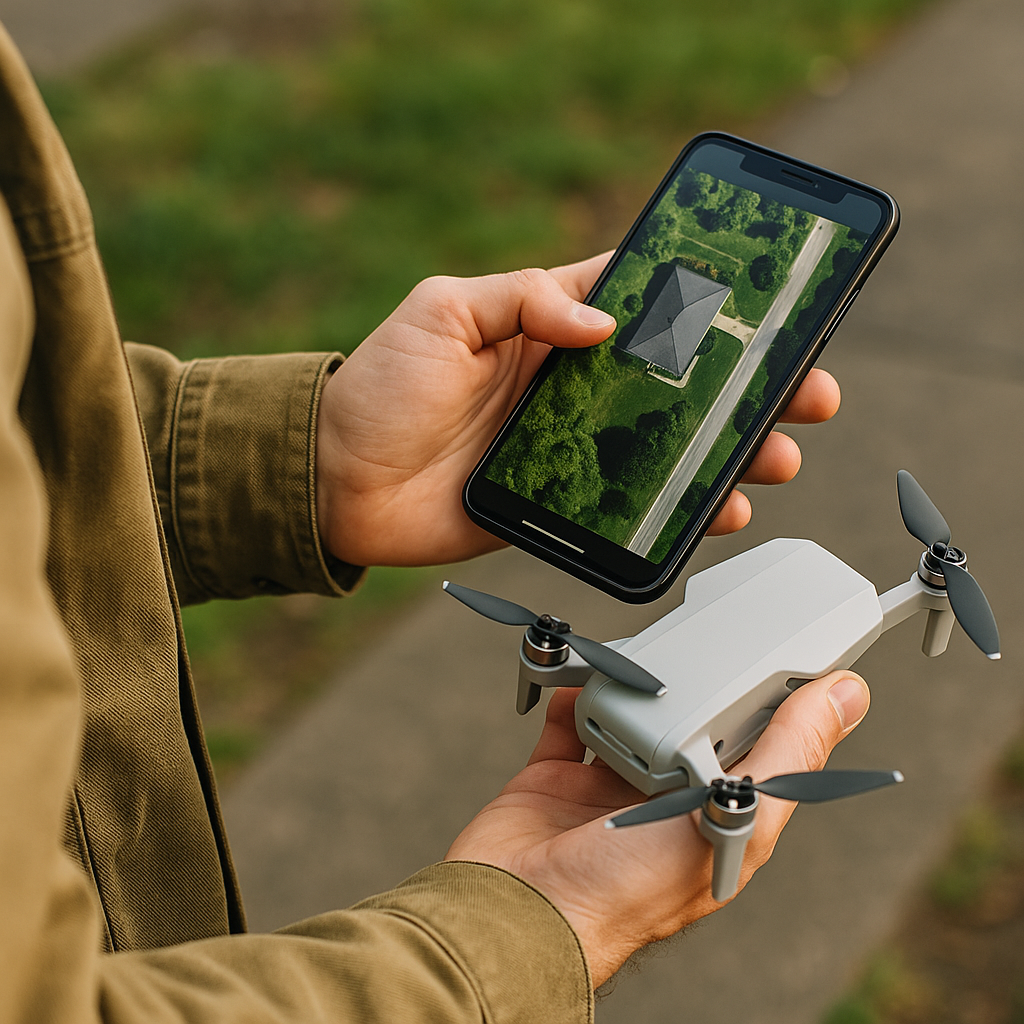
When my aerials look busy or skewed, it usually isn't my flying. It's that I took off with a vague idea and started hunting for it at 120 feet while the battery ticked down. The fix for me was treating the preflight like a tiny survey: I open a map (I bounce between Google Maps satellite view and whatever the DJI Fly app is showing), then I pick three anchors I want in the frame. For a property, that's often the roof ridgeline, the driveway entry, and a clear boundary cue like a tree line, fence run, or corner of the lot. For a landscape, it's a ridge, a river bend, and one man-made element that gives scale, like a road.
From there I decide the camera angle first, not the flight path. If I want a true top-down, I commit to straight nadir and build the composition with altitude and lateral position. If I want a "hero" oblique, I pick a tilt that keeps verticals believable. On most drone cameras, once you get too aggressive with tilt, roofs start to feel like they are sliding off the lot, and viewers may not know why they distrust it. I also check what direction the sun will be relative to my lens. If it's going to be straight in, I either change my orbit direction or pick a different anchor shot.
Then I write a literal three-line shot list in my notes app: (1) nadir at 200 feet centered on roof, (2) 30 to 40 degree oblique showing driveway and street context, (3) a slow orbit keeping the long side of the structure framed. It's boring, which is why it works. I still get the fun shots, but I get them after the essentials are locked. The other thing I do, because I've learned it the hard way, is check DJI FlySafe and the local airspace layer before I drive out. That way I'm not standing there with a controller in hand, realizing I'm inside a restriction and trying to invent a new plan on the sidewalk.
Use light like a material: side-light, not overhead glare
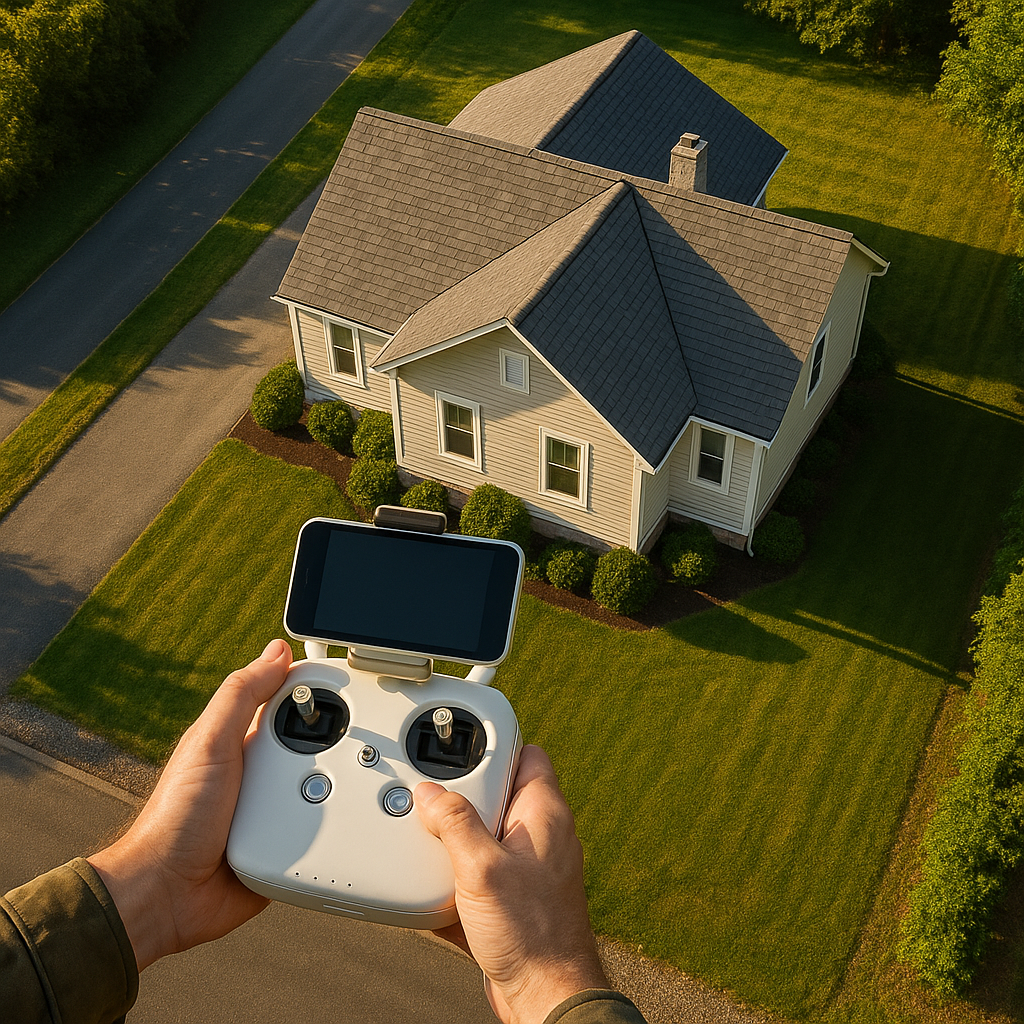
Midday aerials are the ones that make me want to blame the drone. Everything is sharp and still the image looks like a screenshot. The difference, for most of what I shoot, is side-light. Early morning and late afternoon give you a gentle shadow that explains shape: roof pitch, canopy height, the slope of a lot, even the texture difference between gravel, asphalt, and mown grass. When the sun is straight overhead, those clues disappear and your shot turns into a diagram.
If I have any scheduling control, I aim for a sun angle where shadows fall sideways across the frame, not directly toward or away from the camera. For a property, that usually means I place the drone so the sun is off to my left or right shoulder. You get definition without the drone's own shadow photobombing the subject. If I have to fly near noon (it happens), I change what I ask the light to do. I stop chasing drama and go for clarity: true top-down, clean edges, and less tilt so I'm not turning bright pavement into a blown-out wedge.
Settings matter here, but I'm not doing anything exotic. I shoot RAW when the drone supports it because highlights off a light roof or a shiny car hood are the first thing to go. If I'm using a DJI with a fixed aperture, I lean on ND filters to keep shutter speed sane for video and to avoid that crunchy, staccato motion in an orbit. For stills, I watch the histogram and I underexpose a touch if the scene has bright concrete or reflective water. Pulling up shadows later is usually kinder than trying to recover a clipped highlight that turned into a white sticker.
One small habit that saves me: I do a quick 360 slow yaw at takeoff altitude and look for glare paths. Solar panels, windows, even a wet parking lot can throw a bright streak straight into the lens depending on where you are in the orbit. If I spot it, I adjust the orbit radius or change my start point so that the worst flare moment happens behind a tree line or outside the cleanest part of the shot. It's not artsy, it's just damage control that keeps the final set looking consistent instead of like three different days.
My sharpness checklist when the wind is lying to you
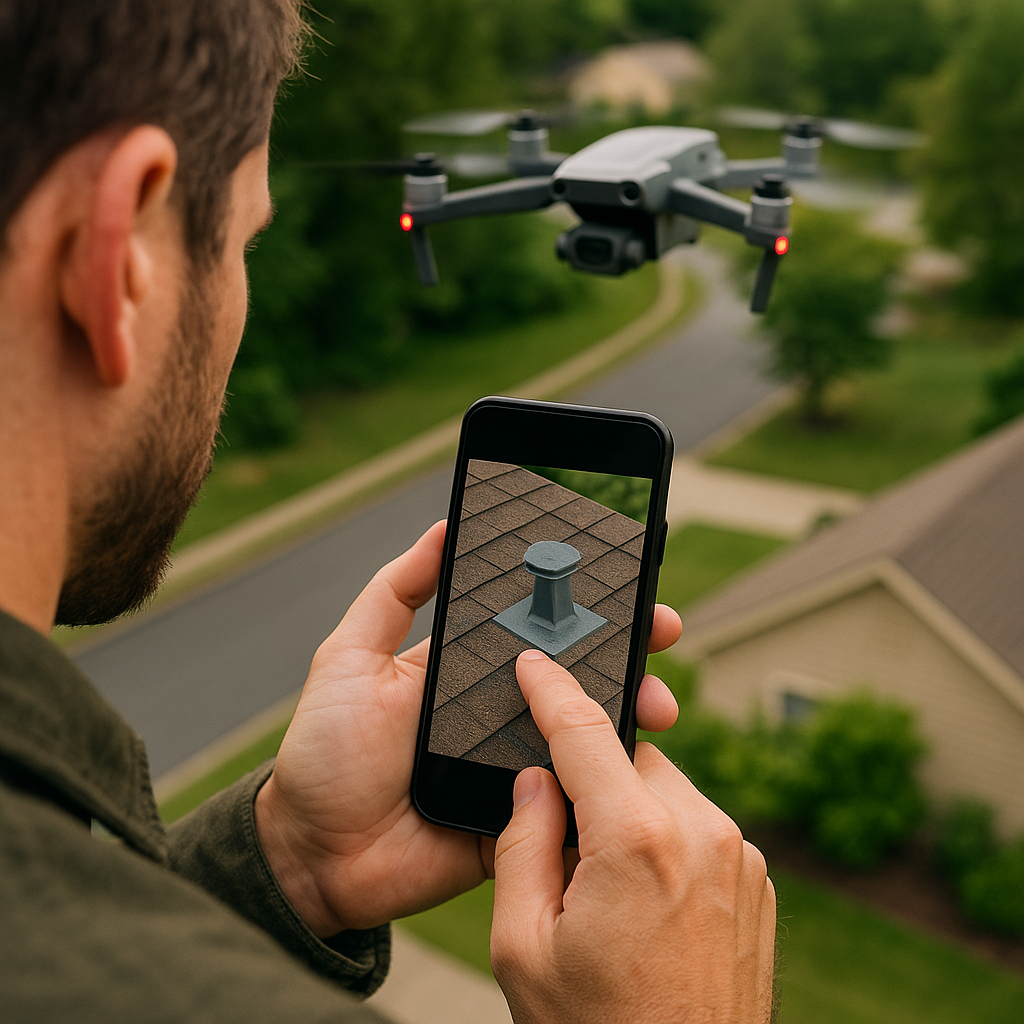
The funniest part of drone shooting is that the wind can feel fine where you're standing and still be pushing your camera around up at 250 feet. You'll only notice later, zoomed in on a roof vent or a treetop, that half your set is soft. I don't try to outsmart physics anymore. I just run a checklist that keeps my hit rate high even when the air is doing that invisible wobble.
First, I treat focus like it's manual, even when it's not. Before the keeper shots, I tap-to-focus on something with contrast (a roof edge against shingles, a painted line on pavement), then I don't change the focal target unless I change my framing a lot. Some drones love to refocus on whatever passes under the center point during an orbit, and you'll get a weird mix of sharp and mushy frames that all looked fine on the controller.
Second, I give the gimbal a second to settle. I used to fly, stop, and immediately fire three shots. Now I stop, count to two, then shoot. It's a tiny delay that pays for itself. Third, I shoot bursts when the scene is worth it. Not spray-and-pray, but a short burst as I pass the cleanest angle of an orbit. Later, one frame is usually noticeably crisper.
Fourth, I keep movements boring. Slow yaw, slow stick inputs, and no last-second corrections right as I press the shutter. If I'm shooting video, I avoid fast orbits unless I'm very confident in the light and the ND setup. Motion blur looks cinematic until it's just smear across rooflines.
Last, I do an on-site zoom check on two different textures. I pinch-zoom into the shingles (fine repeating detail) and then into text or hard edges (street stripe, curb, solar panel frame). If both look crisp, I'm good. If the shingles look like mush, I don't argue with it. I lower altitude a bit, slow down, and reshoot the same angle. The extra two minutes beats explaining later why the only wide establishing shot isn't usable.